Skip to content

3D printing

3D Printing and Modeling for Beginners (Prusa XL)
Beginner9h67 items
Free
3D Printing and Modeling for Beginners (Prusa XL)

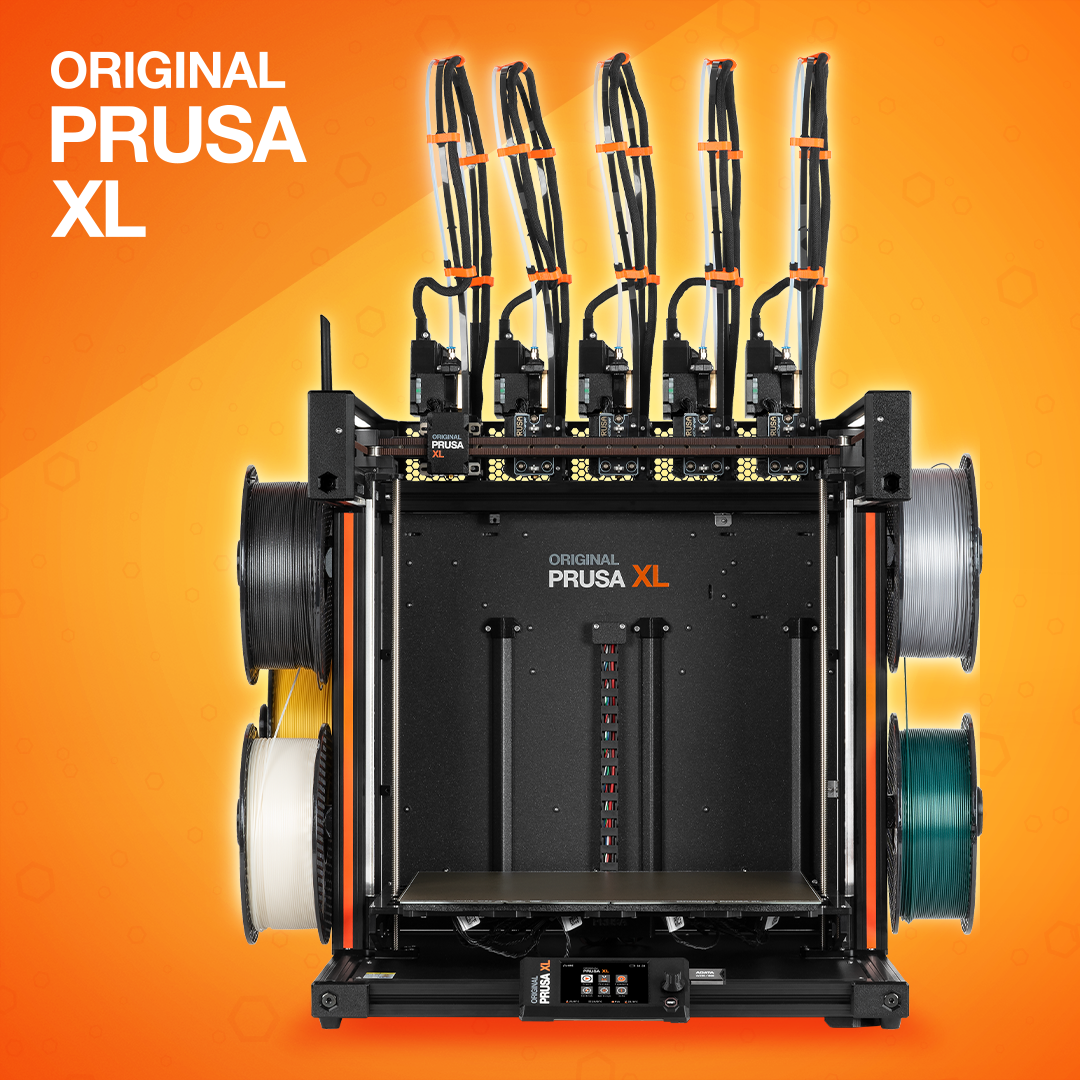
Start from scratch and get to printing, optimizing and 3D modeling with confidence! This hands-on course guides you step-by-step through the entire workflow on the Original Prusa XL: installing and configuring the PrusaSlicer, choosing the correct settings (layer height, materials, infill, supports), previewing and exporting G-code, then essential optimization techniques (orientation, cutting, organic/snug supports, variable layer height). We then get into multi-color and multi-material printing (with and without priming tower), color painting, extruder mapping, and using different nozzle sizes for detail or speed. In parallel, you learn basic maintenance and troubleshooting (adhesion, stringing, layer shift) so that you get reliable, repeatable results. The 3D modeling part starts with Tinkercad - perfect for beginners - where you will create head-to-tail projects (eg: "Snowman"), then you get an Autodesk Fusion "teaser" to whet your appetite for a professional CAD (project "Vase" - sketch, revolve, shell, fillet/pattern). Along the way, you get 3MF/STL files, presets, checklists and short quizzes, and at the end – a certificate of completion. Who it's for: beginners, educators, makers and Prusa users who want to move from ready-made G-codes to projects own, including multicolor/multi-material. What you need: a Prusa XL (or access to one), PrusaSlicer, 1–2 kg PLA (optionally PETG/ASA/TPU), Tinkercad account and time for some exercises practice.

Access
By enrolment
Certification
PDF with unique ID

Curriculum

Modules, lessons and quizzes in the correct order, resuming from your last position.

View the first item
Module 1

Prusa XL

We follow this simple path: -we get you to the first print as quickly as possible, -we show you where to get more 3D models and how to prepare them for printing, -we teach you how to keep your printer in optimal condition, -and finally how to create your own simple 3D models.

Introduction
Unpacking the printer
The ideal location of the XL printer
Preparing the printer
Main components
Module 2

Calibration and Setup Assistant

If you purchased the Single-toolhead version of the XL printer, your job will be simple. You can continue with the Setup Wizard, and the printer does almost everything by itself.

Getting started with a multi-head printer
Calibration of nozzle seal height
Turn on the printer and launch the Assistant
Network configuration
Checking fans and XYZ test
Dock position calibration
Loadcell and heater tests
Filament sensor calibration
Tool Offset Calibration and Phase Stepping
Quiz: Lesson 1 și 2
Module 3

First print

Printer menu controls
Printing plate
Filament loading
Connecting the printer to the Internet
Choosing a 3D model from the included USB stick
Starting the printing process
Observing the mechanics of the printer
Observing 3D printing itself
Manipulation of a completed model
Quiz: Lesson 3
Module 4

Download the 3D models

Printables.com. Introduction
Our picks from Printables.com
Printables.com. funcții suplimentare
Module 5

Preparing to print the 3D model ("Slicing")

Slicing with Easyprint
PrusaSlicer installation expert
Importing 3D data into PrusaSlicer
Interface. Right panel, Slice button
Interface. Left icon bar
Interface. Central icon bar
Top menu tabs
Support optimization
Print Orientation
Cutting objects
Automatic printing pause (multicolor printing and object embedding)
Sfaturi, trucuri și funcții extra
Quiz: Lesson 5
Module 6

Multi-color printing

What is multi-material printing?
Priming tower
Importing multi-material models
Painting colors
Manual assignment of extruders
Filament mixing
Advanced tips for multicolor
Module 7

Quick Troubleshooting Guide

Introduction
The limits of material and technology
Basic printer maintenance
External factors (filament quality, G-code settings)
XL specific maintenance
Tips and tricks
Quiz: Lesson 7
Module 8

Create your own model

Introduction to 3D Modeling
Let's start with Tinkercad
Tinkercad interface
Basic rules for successful modeling
Example project: the snowman
Beyond Tinkercad: Introduction to Autodesk Fusion and Installation
Demonstration project: vase
Conclusion
Module 9

What's next?

Additional sources of information
Filament materials
Accessories available